
05 September 2026 · TJ Smile Studio
Save 4.28 Minutes Per Stage: Clinic Focused Digital Dentistry Workflow
Clinic‑focused guide to implementing a digital dentistry workflow: practical verification steps, team roles, a same‑day case example, and a 4.28 minute...
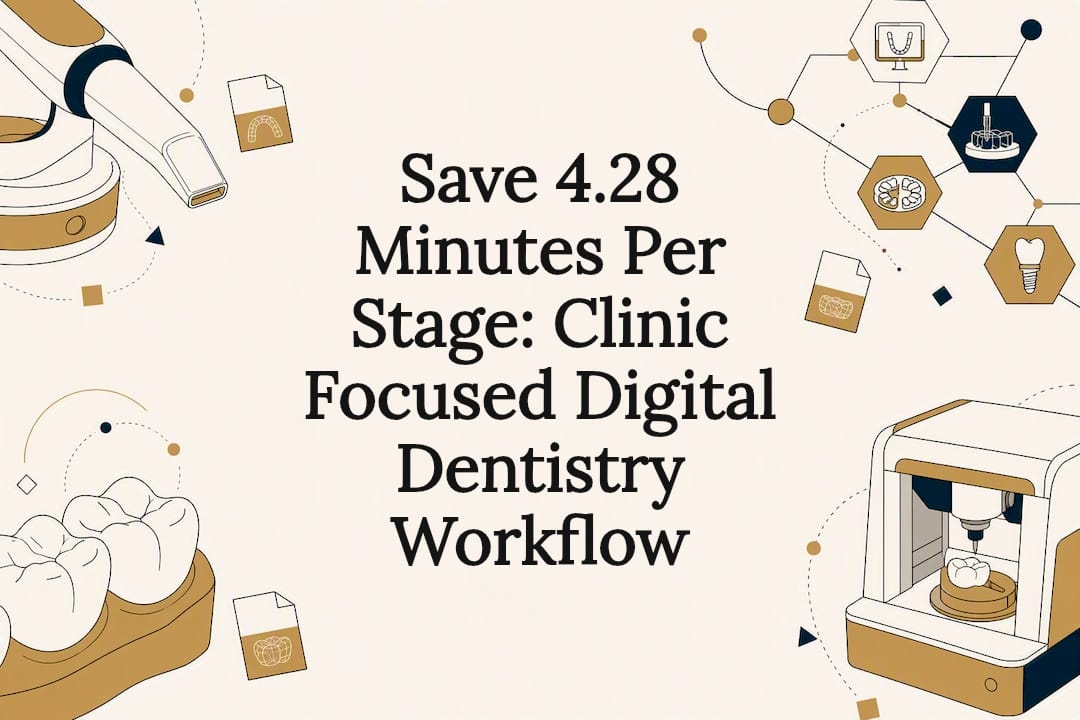
A digital dentistry workflow links intraoral scanning, CBCT imaging, CAD design, and CAM manufacturing into one continuous digital record, replacing physical impressions and lab tickets with data that moves seamlessly between clinic and lab. The clinical payoff is measurable: meta-analysis data shows fully digital implant workflows cut mean procedure time by several minutes per stage while holding accuracy comparable to conventional methods.
TL;DR:
- Fully digital workflows offer time savings primarily in implant procedures, reducing stage times by around four minutes on average, but benefits depend on staff experience.
- Case suitability varies: single-unit crowns favor chairside workflows, while full-arch implant cases typically need hybrid systems linking clinic and lab.
- Reliable implementation requires validated equipment compatibility, clear team roles, scheduled training, and ongoing revalidation, especially after software updates.
- Material choices should align with the indication, with zirconia for posterior restorations and lithium disilicate for anterior cases, while milling remains the standard for definitive restorations.
- Connecting digital tools to practice management and maintaining strict data security are key for seamless, secure, and legally compliant workflow integration.
Table of Contents
- Digital dentistry workflow: scope and the idea of connected dentistry
- How does a digital dental workflow move from scan to seat?
- Chairside, laboratory or hybrid: which digital workflow fits the case?
- What does the clinical evidence actually show?
- Building a safe implementation checklist for your practice
- Choosing materials and manufacturing routes
- Verification and quality control: catching problems before they reach the mouth
- A same-day clinic case: how the workflow plays out in practice
- Connecting a digital workflow to your practice management system
- Data security and patient privacy in a digital workflow
- What’s next for digital dentistry workflow technology?
- Is the investment worth it? A cost-benefit look
- A team-centred take on adopting digital dentistry
- How TJ Smile Studio applies this workflow for patients
- Sources
- FAQ
Digital dentistry workflow: scope and the idea of connected dentistry
A full digital workflow spans six stages: diagnosis, treatment planning, design, manufacture, clinical delivery, and archiving. Every stage generates a file, and the quality of the final restoration depends on how cleanly those files talk to each other.
That interdependence is what the profession now calls “connected dentistry” — the principle that value comes from data continuity across intraoral scanners (IOS), cone-beam CT (CBCT), CAD software and laboratory manufacturing systems, not from owning any single piece of kit in isolation. Buying a scanner without a plan for how its files reach your lab or your milling unit gets you a faster impression and nothing more.
Compared with analogue dentistry, a connected digital workflow offers real advantages, but also real trade-offs clinicians should walk in expecting:
- Faster, more comfortable data capture for patients, replacing tray impressions with a five-minute scan
- Better communication with labs and specialists through shared digital files rather than physical models
- A permanent, searchable digital archive of every case, useful for reviews, re-treatment and audit
- A steeper initial learning curve and upfront training time before speed gains appear
- Ongoing software and hardware costs that need factoring into any adoption plan
None of this replaces clinical judgement. It simply gives you sharper tools to plan and execute treatment, and a stronger paper trail if a case needs revisiting years later.
How does a digital dental workflow move from scan to seat?
The sequence below is the practical backbone of most cosmetic and restorative digital cases, whether you are producing a single crown or planning a multi-unit case.
- Acquire the data. Capture an intraoral scan with a consistent scan strategy (buccal, occlusal, lingual passes) to minimise stitching errors, and add a CBCT scan where implant planning or bone assessment is needed. Watch for common artefacts: saliva pooling, soft tissue movement and reflective surfaces all distort scan data.
- Plan the case. Import scans into planning software and align them with a virtual articulator for occlusal analysis. For implant cases, overlay the CBCT with the surface scan to plan trajectory and depth before any drilling happens.
- Design in CAD. Set margin lines, contact points and cement space precisely — a cement gap that is too tight causes seating problems, while one too generous weakens the restoration’s fit.
- Manufacture via CAM. Choose milling for strength-critical units like posterior crowns, or 3D printing for models, surgical guides and increasingly for definitive restorations in softer materials.
- Deliver and archive. Try the restoration in, check contacts and margins clinically, cement, then archive the full digital file set, scan, design and manufacturing parameters, against the patient record.
Pro Tip: Scan your preparation twice, once immediately after prep and once after haemostasis is confirmed. Comparing the two catches margin obscuring from bleeding or tissue rebound before it reaches the lab, saving a remake later.
Chairside, laboratory or hybrid: which digital workflow fits the case?
Not every case suits the same route through the digital pipeline, and choosing wrong is the most common source of wasted chair time.
- Chairside full digital works best for single-unit, same-day restorations where the clinic controls scan, design and milling or printing in one appointment. It suits crowns, inlays and simple veneers where speed matters more than complex layered aesthetics.
- Laboratory workflow remains the stronger choice for multi-unit cases or high-aesthetic veneer work, where a technician’s hand-layering and shade blending outperform chairside milling for now. The clinic scans and sends files digitally, but manufacturing sits with the lab.
- Hybrid workflow splits tasks pragmatically: the clinic captures and plans digitally, while the lab manufactures using CAD/CAM equipment beyond most practice budgets. This is the most common route for full-arch and complex implant cases.
A rough indication matrix: single posterior crown favours chairside; anterior veneer cases favour laboratory or hybrid; full-arch implant rehabilitation almost always needs hybrid, combining clinic-side planning with lab-side manufacturing precision.
What does the clinical evidence actually show?
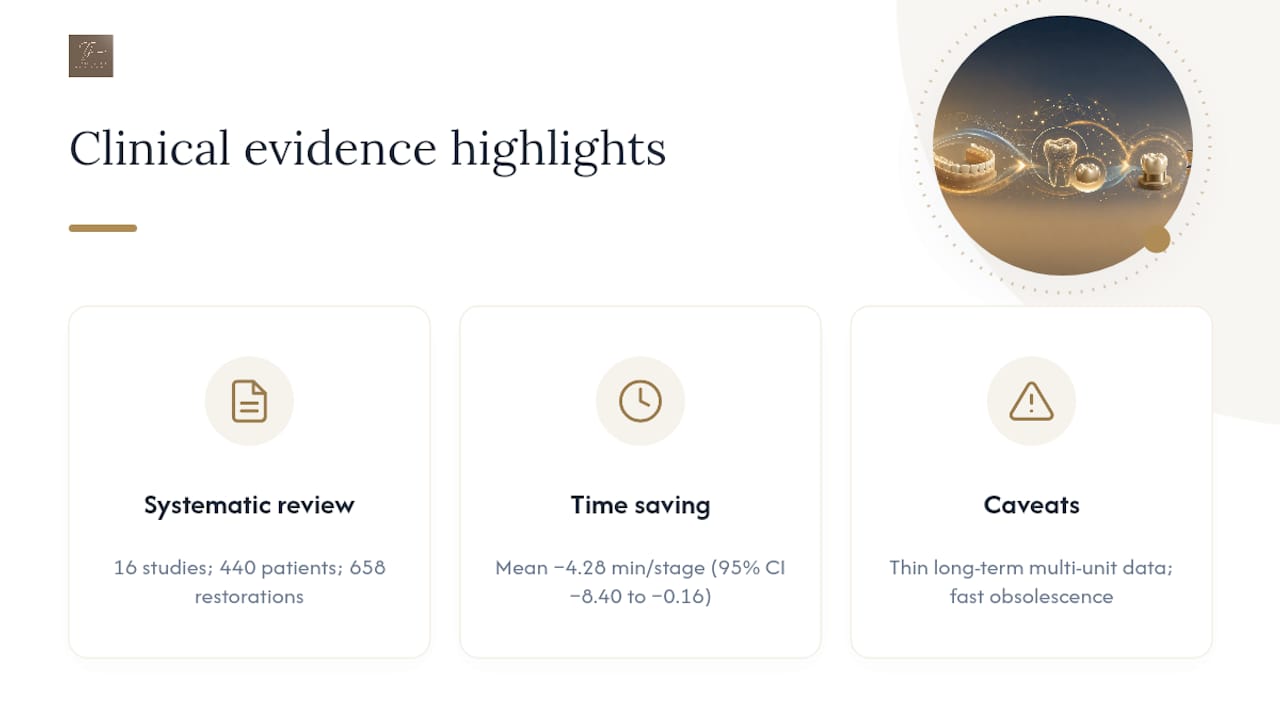
The strongest evidence sits behind posterior monolithic implant crowns, where a systematic review covering 16 studies, 440 patients and 658 restorations found complete digital workflows at least comparable to conventional methods on precision, production cost and patient satisfaction.
Time efficiency is where digital workflows show their clearest advantage. A meta-analysis of fully digital versus conventional workflows for implant-supported restorations found a mean procedure time reduction of 4.28 minutes per stage (95% CI: −8.40 to −0.16, p < 0.05), a modest but statistically real saving that compounds across a full clinic day.
That figure comes from a meta-analysis comparing fully digital and conventional workflows for implant-supported restorations, and the confidence interval matters: the lower bound sits close to zero, meaning the time saving is genuine but not dramatic in every case.
On fit and precision, results are reassuring rather than revolutionary. A randomised controlled trial comparing fully digital, combined and analogue workflows reported superior interproximal and occlusal contacts, along with higher patient satisfaction, for digital workflows against conventional impression techniques on implant-supported prostheses.
Two caveats temper the enthusiasm. First, long-term evidence on multi-unit and full-arch digital cases remains thinner than the single-unit data. Second, device and software obsolescence moves faster than clinical trials can track it, so a workflow validated on one scanner generation may not carry the same performance profile two upgrades later.
Building a safe implementation checklist for your practice
Rolling out a digital workflow badly is worse than not rolling one out at all. A staged, documented approach avoids most of the early failures.
- Set your equipment baseline. Decide whether you need an intraoral scanner, CBCT access, or both, and confirm your CAD software’s compatibility before signing anything. Industry guidance recommends starting with these two foundational tools to build diagnostic precision before adding manufacturing hardware.
- Confirm file interoperability. Check that your scanner exports STL or PLY files your lab and CAD software both accept, and that CBCT data exports in standard DICOM format. Mismatched formats are the single most common cause of delayed cases in the first three months of adoption.
- Allocate roles clearly. Decide who scans, who reviews the design proposal, and who signs off before manufacturing. Smaller practices often rotate this across two or three trained staff rather than relying on one person.
- Train on a schedule, not ad hoc. Budget several weeks of parallel running, where digital and analogue methods run side by side on low-risk cases, before retiring the analogue backup entirely.
- Build a revalidation plan. Consensus guidance from the EuCC 2024 draft recommends rechecking workflow accuracy whenever software updates or material batches change, since small deviations compound across stages.
Pro Tip: Keep a simple spreadsheet logging every software update, resin batch and scanner firmware version against case outcomes. When a fit issue crops up months later, that log turns “why did this go wrong” into a five-minute diagnosis.
Data governance deserves a specific mention here rather than an afterthought. Every scan, CBCT dataset and design file is patient data, and your storage and backup protocol needs to treat it that way from day one, not retrofitted once volumes grow.
Choosing materials and manufacturing routes
Material choice depends on the indication, not on whatever the mill happens to be loaded with that morning.
- Zirconia suits posterior crowns and bridges where strength under occlusal load matters more than translucency.
- Lithium disilicate remains the workhorse for anterior single units and veneers, balancing strength with a more natural light transmission.
- Hybrid ceramics offer a shock-absorbing quality useful for implant-supported restorations subject to heavier functional forces.
- PMMA stays the standard for provisional restorations and try-ins, cheap and quick to mill while the definitive piece is manufactured.
Milling delivers tighter tolerances and a denser, more predictable surface finish, which is why it remains the default for load-bearing definitive restorations. 3D printing has closed the gap fast for models, temporaries and surgical guides, and is increasingly used for definitive restorations in softer, resin-based materials, though post-processing (curing, polishing) still needs careful attention to avoid porosity affecting fit.
Cementation protocols differ slightly for digitally milled restorations, since CAD-designed cement space is often more consistent than hand-adjusted analogue castings, meaning try-in checks should focus on marginal seating rather than gross bulk removal.
Verification and quality control: catching problems before they reach the mouth
Even a “fully digital” workflow benefits from an analogue safety net on complex cases. Printing a verification cast from scan data and checking it against a jig remains standard practice for full-arch or long-span bridge work, where cumulative scan error is more likely to show up.
- Superimpose the final design mesh over the original scan to check deviation before sending to manufacture.
- Follow a consistent scan-body protocol for implant cases; inconsistent seating of the scan body is a frequent source of misfit.
- If a restoration doesn’t seat cleanly at try-in, check the margin first, then contacts, before assuming the whole piece needs remaking.
Pro Tip: A five-minute digital superimposition check before manufacturing catches most fit problems that would otherwise surface as a costly, embarrassing remake at seating appointment. Hybrid verification practices that combine digital checks with a physical printed cast remain a pragmatic standard even in high-volume digital clinics.
A same-day clinic case: how the workflow plays out in practice
A validated same-day digital workflow underpins the Same Day Smile service offered by a clinic in Glasgow. The sequence follows the standard pipeline tightly: intraoral scan, chairside CAD design, on-site milling or printing, then seating, all within a single appointment for suitable cases.
Case selection matters here more than in a multi-visit workflow. Single-arch or limited multi-unit cosmetic cases suit same-day delivery; complex full-arch rehabilitation or heavily compromised dentition still routes through a hybrid pathway with laboratory support. Having that lab relationship as backup, rather than treating chairside manufacturing as the only option, is what keeps a same-day promise realistic rather than reckless.
Connecting a digital workflow to your practice management system
A digital dentistry workflow that lives in isolation from your practice management software creates duplicate data entry and, eventually, a mismatch between the clinical record and the treatment plan. The scan file, the CAD design and the manufacturing order all need to sit against the same patient record your reception and billing systems already use.
Most modern practice management platforms now support some level of integration with imaging and CAD software, whether through direct API connections or shared folder structures that link a patient ID to their scan history. The practical goal is simple: a clinician or reception staff member should be able to pull up a patient’s file and see their scan history, treatment plan and billing status in one place, rather than hunting across three separate systems.
Electronic health record integration matters particularly for continuity of care. If a patient returns eighteen months later for a further restoration, having their original scan geometry, shade selection and material choice already logged saves a full re-diagnostic workup. It also protects against disputes, since a dated digital record of what was planned and delivered is harder to contest than a handwritten chart note.
The practical advice for most practices adopting this is to check integration compatibility before purchasing new imaging hardware, not after. Retrofitting a scanner that exports in a proprietary format your practice management software can’t read is a common, avoidable expense.
Data security and patient privacy in a digital workflow
Every scan, CBCT dataset and CAD file is identifiable patient data the moment it’s tied to a name, and it needs the same protection as any other clinical record. This isn’t a side issue to bolt on later; it shapes how you choose software and storage from the outset.
Cloud-based CAD platforms and lab transfer systems need to meet the same confidentiality standards as your paper records did, encrypted in transit and at rest, with access logs showing who opened which file and when. Practices working with external labs should confirm, in writing, how that lab stores and eventually deletes transferred scan files, since a stray unencrypted file sitting on a lab technician’s desktop is a real, if unglamorous, risk.
Patient consent processes should explicitly cover digital data too. Explaining that a 3D facial or intraoral scan is stored, and for how long, is now part of informed consent rather than an optional extra. Practices should also have a clear policy on archiving: how long is a completed case’s scan data retained, and what happens to it if a patient formally requests deletion.
None of this should slow adoption down. It simply means building a data governance checklist alongside your equipment procurement checklist, rather than treating security as an afterthought once the scanner is already in the surgery.
What’s next for digital dentistry workflow technology?
Artificial intelligence is moving from a marketing buzzword into practical use inside CAD software, automating margin detection and flagging scan artefacts before a technician even sees the case. This won’t replace clinical judgement, but it does cut design review time on straightforward cases.
Cloud-based connectivity is also tightening the loop between clinic and lab. Rather than exporting a file and emailing it, more systems now support live case tracking, where a clinician can see design proposals and manufacturing status in real time rather than waiting on a phone call.
On the manufacturing side, additive manufacturing is edging closer to milling’s precision for definitive restorations, not just models and provisionals, as resin materials improve. Expect the balance between milling and 3D printing to keep shifting over the next few years as material science catches up with the geometric flexibility printing already offers.
None of these trends change the fundamentals. A workflow still needs validated data flow, trained staff and a revalidation habit, whatever new device sits on the bench next year.
Is the investment worth it? A cost-benefit look
The upfront cost of a digital workflow is real and shouldn’t be understated. An intraoral scanner, CBCT unit and CAD software licence represent a meaningful capital outlay, and most practices need to budget for staff training time on top of the hardware spend, time that reduces clinical throughput in the short term.
The return builds gradually rather than immediately. Chairside time savings, reduced procedure duration of over four minutes per stage in implant cases, start compounding once staff are past the learning curve, typically after the first few months of parallel running. Reduced remake rates, thanks to earlier digital verification catching fit problems before manufacture, save both material cost and appointment slots that would otherwise go to correcting a poor-fitting restoration.
Patient-facing benefits also have a commercial dimension. Higher satisfaction scores reported in randomised trial data translate into better case acceptance and stronger word-of-mouth referral, particularly for cosmetic cases where patients can see their digital smile design before committing to treatment.
The realistic timeline for most single or small multi-practitioner clinics is a return on the core equipment investment within two to three years, assuming case volume and case mix suit chairside or hybrid delivery. Practices doing high volumes of simple restorative work see faster payback than those focused on complex, low-volume rehabilitation cases.
A team-centred take on adopting digital dentistry
Most practices chase devices first and process second, which is backwards. Start small: validate one workflow on low-risk cases before expanding, and invest training time before expecting speed gains. The data flow between scan, design and manufacture matters more than which brand of scanner sits on your bench, and clear team roles prevent the small errors that compound into remakes. Connectivity and AI-assisted design will keep improving the tools available, but they’ll only help practices that already have disciplined, validated processes to plug them into.
— Dr Tashfeen Jamil BDS, MFDS RCS Ed, AssocFCGDent - GDC 286427
How TJ Smile Studio applies this workflow for patients
A clinic in Glasgow runs the validated same-day digital workflow described throughout this article on a daily basis as the standard route for suitable cosmetic cases. That means patients considering Same-Day Hybrid Veneers, a full digital smile makeover, or Invisalign treatment planned digitally from the first consultation get to see their design proposal on screen before any manufacturing happens, not weeks later once a lab returns a physical model.
For dental colleagues curious about how a same-day chairside pathway actually runs in a working clinic, or for patients weighing up whether their case suits single-visit delivery, the practical answer is a consultation rather than a guess. Book a visit through TJ Smile Studio’s treatments page to discuss whether your case fits a same-day digital pathway or needs the hybrid, lab-supported route.
Sources
- Meta-analysis comparing fully digital and conventional workflows for implant-supported restorations
- Systematic review: the complete digital workflow in fixed prosthodontics (updated)
This article is general information, not a substitute for advice from a qualified doctor. Consult a qualified healthcare professional about your own circumstances before acting on anything here.
FAQ
What is a digital workflow in dentistry?
A digital dentistry workflow links intraoral scanning, CBCT imaging, CAD design and CAM manufacturing into one continuous digital process, replacing physical impressions and lab tickets with shared data files from diagnosis through to delivery.
What is the 50-40-30 rule in dentistry?
There’s no widely recognised rule of this kind in digital dentistry; any such figures likely originate from specific product marketing rather than clinical consensus.
Can you give an example of a digital workflow?
A same-day crown workflow is the clearest example: the clinician scans the prepared tooth with an intraoral scanner, designs the restoration in CAD software, mills or prints it chairside, then seats and cements it, all within one appointment.
What are the key components of digital dentistry?
The core components are intraoral scanners for data capture, CBCT for 3D imaging where needed, CAD software for design, and CAM systems (milling units or 3D printers) for manufacture, all connected through compatible file formats like STL, PLY and DICOM.
Is a digital workflow always faster than conventional impressions?
Not always dramatically so. Meta-analysis data shows a mean time saving of 4.28 minutes per procedure stage for implant restorations, real but modest, with the benefit growing as staff move past the initial learning curve.
Recommended
This article is general information, not personal dental advice. What’s right for your teeth depends on a clinical examination — the condition of your enamel, gums, bite and any existing dental work — and no article can assess that. Outcomes vary between patients, and all treatment at TJ Smile Studio is subject to assessment and clinical suitability.
- Dr Tashfeen Jamil BDS, MFDS RCS Ed, AssocFCGDent, PGDip Restorative and Aesthetic Dentistry — GDC registration 286427
This article is general information, not personal dental advice. What's right for your teeth depends on a clinical examination — the condition of your enamel, gums, bite and any existing dental work — and no article can assess that. Outcomes vary between patients, and all treatment at TJ Smile Studio is subject to assessment and clinical suitability.
Clinically reviewed by Dr Tashfeen Jamil BDS, MFDS RCS Ed, AssocFCGDent, PGDip Restorative and Aesthetic Dentistry — GDC registration 286427, Principal Dentist at TJ Smile Studio, 1 Spiersbridge Way, Thornliebank, Glasgow G46 8NG.
If you have dental pain, swelling or an injury, call the practice on 07728 808510. Out of hours in Scotland, call NHS 24 on 111.